Showing posts with label bunting. Show all posts

Thursday, 16 October 2014

Baby's Bedroom

Thank you, thank you, thank you for all the lovely comments on my last post!  You're all so sweet!!!

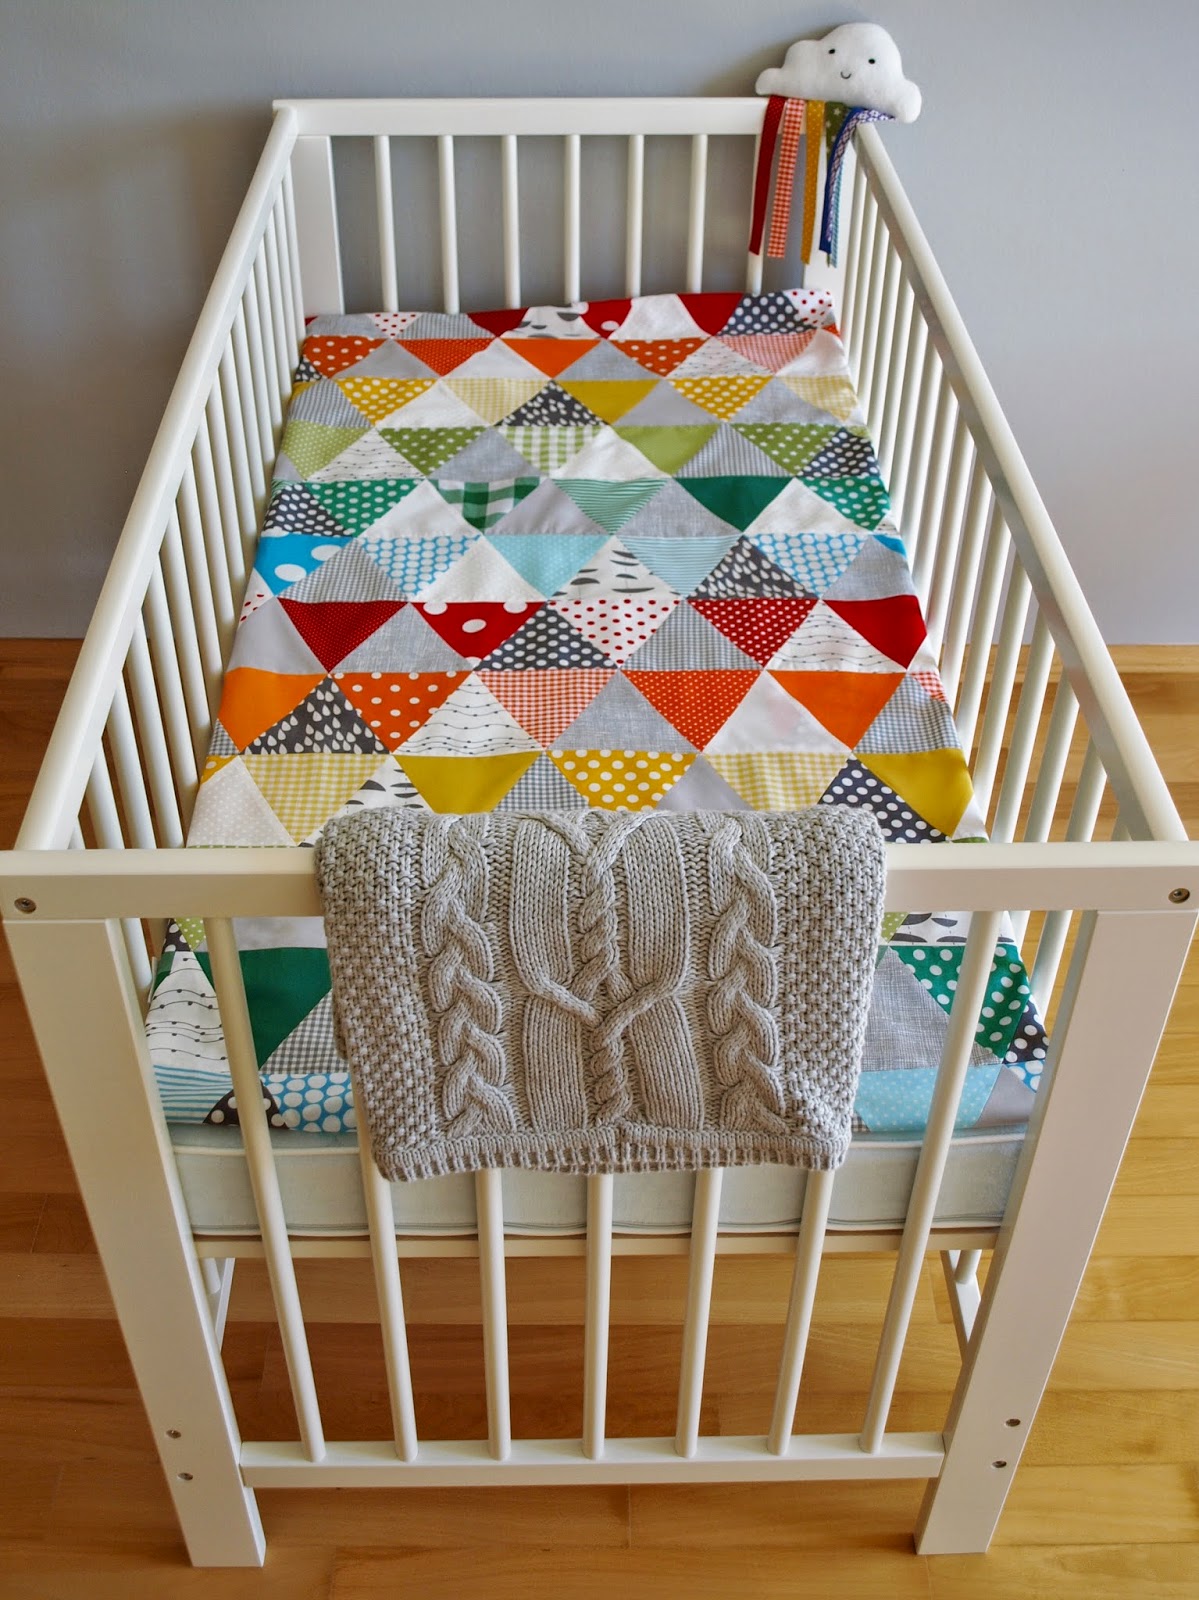
Now here's a post I've been meaning to do for aaages.....  Bo's bedroom!  

It was a joint effort.  Simon did all the decorating, sticking on of wall-stickers, and putting together of IKEA furniture.  And I did all the making (and buying)!

Here it is (apologies in advance for the photo-overload).....


We're very happy with how it turned out!  I love how bright and colourful it is!  We hope Bo'll like it when he eventually starts sleeping in there.....  Fingers crossed!!!

See you soon!

Carly

x


Friday, 18 April 2014

Monochrome Bunting

Lately, I've been trying to sort through and get rid of SOME of the thousands upon thousands of project photos I have saved on my laptop.  And, in the process, I've come across quite a few things that I'd meant to show you but forgotten all about.

One of them was the black, grey and white bunting I made for my sister (to go in her bedroom) for Christmas.  

I really LOVE making bunting!  I like the process of picking fabric colours and patterns to go together, and the cutting-out, sewing the fronts and backs of the little triangles together, and then sewing them all into a strip of binding to finish the project off.  SO quick and SO easy and SO much fun!!!

By the way, I think I see a bunting project for the Little One's room in my crafting crystal ball.....

So, here's my monochrome bunting:


Wishing you all a happy Easter!!!

Until next time.....

Carly

x


Thursday, 7 November 2013

Personalised Bunting

While I was working on the baby quilt I showed you last week (you can see it here if you missed it), I was also sewing up a couple of strings of bunting that the same friend commissioned.

Bunting String Number 1:


Bunting String Number 2:


If you've never tried sewing bunting, you should definitely give it a try.  I have to admit that it's one of my latest crafting addictions!

Carly

x

Monday, 26 August 2013

My Handmade Wedding Gift

As promised last time, today's post is going to be about the wedding pressie I made for my friend.   

I’ve mentioned in a few older posts that I’ve tried a bit of papercutting before – and that’s what I decided to do for the wedding gift. 

My previous attempts at papercutting had all been from pre-prepared outlines.  But, for this one, I wanted to design something myself.  What a job that was!!!  I’d seen some pretty things online, and got some ideas from here and there.  But I wanted to add some personal touches.

Drawing is definitely NOT one of my strong points, and I think I must have drawn it out at least 25 times before I was reasonably happy with what I had.  I found a picture of the gatehouse of the venue, and tried to incorporate it into the design.  I’d heard that the gardens were a special feature of the place too, so I put in a tree and some grass and flowers.  I also knew that the mother of the bride had been busy making lots of bunting for the occasion – so I put in some of that too! And, of course, I included a bride and groom.

The cutting out took AGES as well – and was extremely fiddly!  But that was the fun bit!!!  Here it is as a work-in progress.


And here’s the finished thing.


I have to say that I was pretty pleased with how it turned out. And, luckily, the bride loved it.  PHEW!!!

Now I need to get sorting through photos to show you what else we did in the holidays.....  See you soon!

Carly

x

Saturday, 25 May 2013

A Birthday Present for a Kniting Friend

Last week, a good friend of ours turned 40.  I'd bought a couple of little gifts to package up for her, but I wanted to MAKE her something too.  While browsing on Ravelry, I found just the the thing to knit for a friend who knits - a teeny, tiny sweater-in-progress brooch.....


..... knitted on a pair of snapped-in-half toothpicks!!!

I found the pattern here.

Of course, I had to make her a card too.  And I couldn't resist making ANOTHER paper and buttons bunting card.....


..... just in a different colour (you can see the red - ruby wedding - version here).

Happy birthday, dear Saffron, happy birthday to you!!!  

Carly

x

Sunday, 21 April 2013

Bunting and Buttons Card


Today’s my parents’ 40th (ruby) wedding anniversary. 

CONGRATULATIONS, Mom and Dad!  I hope you’re having a wonderful day!!!  xxx

I wanted to make them a special card, but couldn’t decide what to put on it.  Lots of the ideas I found while searching the internet were a bit old-fashioned – and not really my mom and dad!  My mom had said that she really loved the Mothers’ Day ‘bunting’ card I’d sent her (you can see it here if you missed that post).  So, I decided to do something similar.  Then on good-old Pinterest, I found a card with paper bunting SEWN on (here).  I LOVED it, and decided to do something similar, but with ruby-red flags and......  buttons!!!

Here it is:


I loved sewing on to the card.  I thought it’d be tricky, and the card might get marked or dented from my sewing machine.  But it was actually really easy, and worked really well.  I love how the little stitches looked – and think it gave the card more interest and texture.  It’s definitely a technique I’ll be using on cards again in the future!

Happy Sunday, dear friends!

Happy anniversary, Mom and Dad!

Carly

x


Monday, 25 March 2013

Easter Bunny Bunting Tutorial

This year, I wanted to add a little something to my collection of Easter decorations, and decided that some sort of bunting (for the kitchen) was the way to go.  I wasn’t sure whether to go for eggs or bunnies, but plumped for bunnies in the end (maybe I’ll do some egg bunting next year). 


I searched the internet for ages, looking for a bunny template (of which there are thousands) that was quite tall, but thin enough to fit on some strips of backing paper that I wanted to use.  In the end, I just made up my own (to fit my paper).  You could use my template, or find a different shape by doing a Google search.

So, here goes with the tutorial.....

Things you'll need:
  • Bunny template pdf (printed on to thick paper or card)
  • Pretty papers or card
  • Tiny buttons
  • Scissors
  • Craft knife
  • A pencil
  • A length of ribbon (mine was about 2m long)
  • Needle and thread (or glue)
What to do:

1.  Print out the template (on card, if you can) and cut it out.


2.  Draw around the template on the back of some pretty card (or thick paper).  Cut out the bunny shape.


3.  Cut out lots of bunnies, in different colours and patterns, until you have a nice little bunny family (I made 10).


4.  Stick on some buttons to make your bunnies’ eyes (maybe steer clear of red – I used some red buttons and these bunnies look a bit evil - see a few photos below).


5.  Using a craft knife, cut two parallel lines going down either side of the bunnies’ necks (this sounds a bit brutal, but the bunnies won’t feel a thing).  The lines should be about an inch apart, and slightly longer than the width of your ribbon (so that you’ll be able to thread the ribbon through the holes easily).


6.  Make a loop at each end of your ribbon.  I sewed mine, but I guess glue would do the trick just as well (and in a quarter of the time).


7.  Now comes the fun bit..... arrange your bunnies in a row, and thread them on to the ribbon.  Space them out evenly.


8.  Hang them up, using the little loops you made at either end, and..... tadaaaaaaa!!!  Bonnie bunny bunting, just in time for Easter!!!


What have you been crafting to decorate your house for Easter???

Carly

x

Related Posts Plugin for WordPress, Blogger...