Showing posts with label fabric scraps. Show all posts

Friday, 12 September 2014

Bo's Rainbow Triangles Cot Quilt

Since I posted that our little Bo had been born, I've had so many messages and mails from you all, asking how he's doing and how I'm feeling.....  Thank you SO much for caring - and for being such lovely, lovely blogging pals!!!

We're all doing good!  Simon's been back at school (work) for 3 weeks now.  I was REALLY spoilt having him at home with us for almost two months over the summer holidays, and dreaded the start of term.  But being 'home alone' with Bo has been fine.  He's a good boy - he doesn't cry TOO much, and has settled into a pretty predictable routine.  I have to admit that I still haven't managed to find the time to do any crafting since he was born.  But I'm working on it..... ;-)

So, today's show-and-tell is about another project completed pre-Bo.  This is the quilt I made for the cot in his bedroom:


And here's a sneaky peek at the quilt IN Bo's bedroom (another blog post, coming soon):


This quilt is the first I've made from triangular pieces.  I found sewing them together a bit fiddly at first (I had to do some un-picking because my rows were wonky), but it got easier after a few goes!  

When I'd finished it, I was REALLY pleased with how it looked!  In fact, I think it's probably my FAVOURITE EVER make!!!  :-) 

Which of your makes are you most proud of???

Until next time.....

Carly

x


Friday, 5 September 2014

New Garden Furniture

I know that, at the end of my last post, I said my next one would probably be about another quilt I made for Bo. But then I remembered that I'd taken some photos of our new garden furniture - and the bits and bobs I made to prettify it.  

So, a change of plan.....  I've decided to post a show-and-tell about the garden stuff first, before it feels too autumny to write about that kind of thing!

Knowing that we'd be staying at home for the summer this year (and that we'd be having several sets of visitors), we decided to buy some new garden furniture so that we'd be able to enjoy the sunshine right here.  

We found a set that we liked in IKEA (of course).  But it needed brightening up, I thought (actually, I was just in need of a new sewing project at that time).  So I made some patchwork cushions for the seats, and some coasters for the table.  Here they are(along with a couple of flower photos).....


When I'd finished making the cushions and coasters, I planned to make a couple of lengths of bunting to match.  But little Bo arrived before I got the chance. It's on my 'to-do' list for next spring.....

Happy Friday!!!

Carly

x


Friday, 11 April 2014

Fabric Baby Book

As promised in my last post, I wanted to show you the fabric book I made for our Little One.  
It took me aaaaages to make!!!  I really enjoyed designing each page, and doing the applique and embroidery bits.  But then, turning it from a few pieces of fabric into a book was NOT so much fun!  There was a lot of un-picking and re-doing, and a lot of naughty words along the way.  

But I managed it in the end.  And here it is.....


One smiley sun:


Two friendly clouds:


3 birdies on a branch:


4 eggs in a nest:


5 little toadstools:


6 pretty flowers:


7 caterpillars on a leaf:


8 black spots:


9 colourful flags:


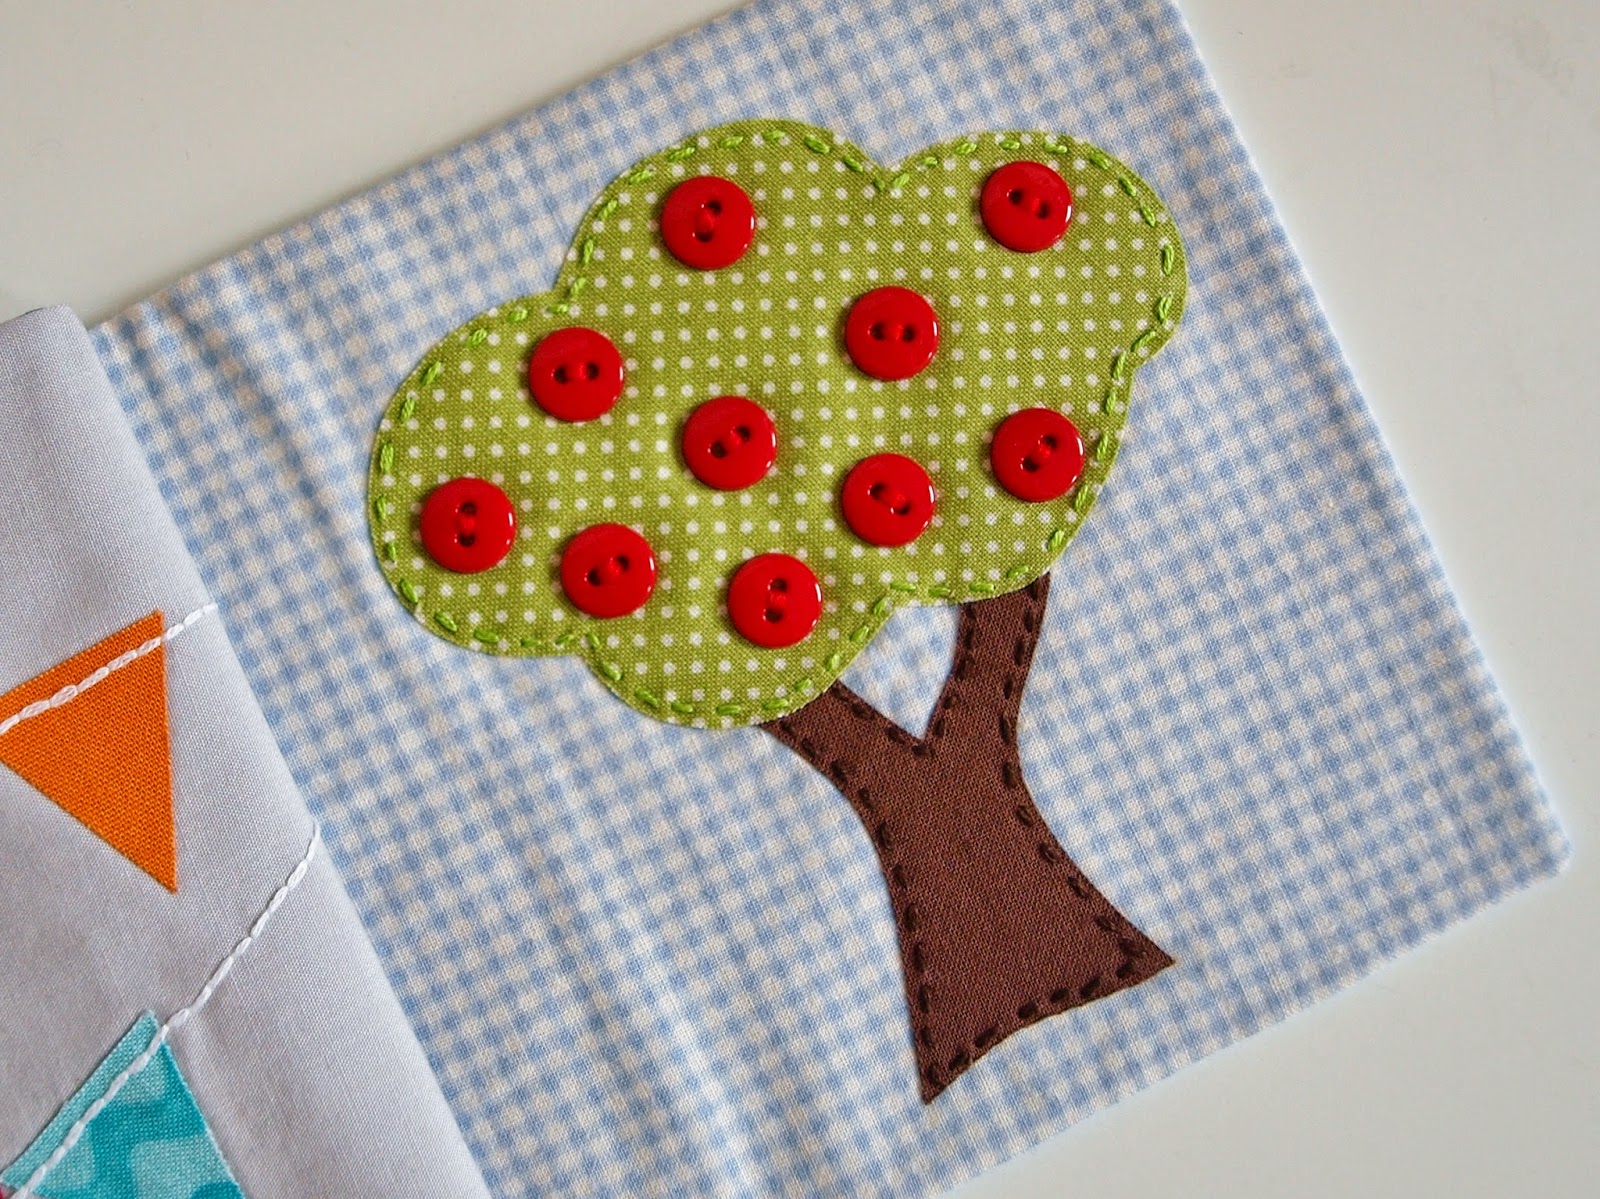
10 red apples:


Another thing for the baby drawer!  

After the Easter holidays, I only have another 4 weeks of work to go before my maternity leave starts.  So I've already started on my 'to make' list for then.....  ;-)

Carly

x


Saturday, 5 April 2014

Baby Crinkle Toy

A sewing project show-and tell this time.....

I've been making a few toys for our Little One.  The first one I made was a cuddly cloud (which you can see here).  

The second was a crinkly patchwork square.  I used high-contrast colours, and added some little textured ribbony-bits around the edge.  To make the crinkle sound, I used a piece of cellophane wrap in the middle.  


A quick, easy and fun-to-make project!  And another little something to add to the 'baby drawer'.  

My third baby toy was a fabric book.  Not no quick, and not so easy!!!  I'll save that for next time.

Until then.....

Carly

x
      

Sunday, 17 November 2013

Wrist Keyrings

Next Friday is our school Christmas Fair, and I'm going to have a stall there.  Exciting stuff!  

I thought that, over the next week or so, I could do a bit of a show-and-tell of some of the things I've been making in preparation.  

And, first of all, here's something new that I haven't tried before.....

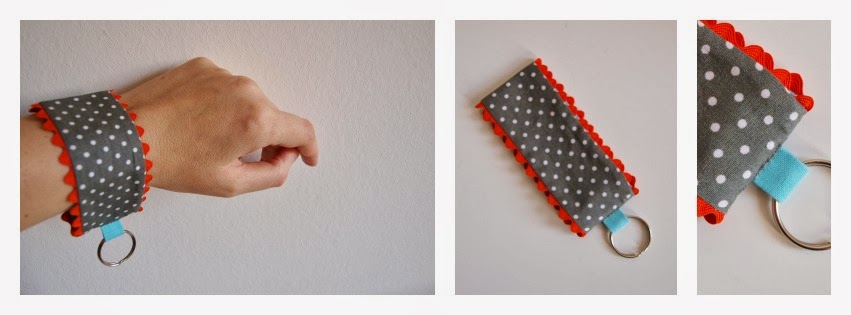
.....  keyrings that you can wear on your wrist:


What do you think?  Good idea or silly idea?  I'd really like to know (honestly) what you think on this one!

I'll be back soon with some more showing-and-telling.....

Carly

x

Tuesday, 2 July 2013

Rosette Pin Tutorial

I'm making these little pretties all the time!  They’re quick and easy – and brighten up any outfit!  They're also a great way of using up fabric scraps that are too cute to throw away.  So, I thought I'd share a quick how-to with you.....

   
What you’ll need:

- A 7x24cm strip of fabric
- A big-ish button in a contrasting colour (I used a button-covering kit to make this one)
- A brooch pin
- Some thread
- A needle
- Scissors
- A sewing machine (if you’re lazy like me)

    
What to do:

1. Take your strip of fabric and fold it in half, so that the right sides are facing each other (as in the picture).


2. Sew a 1cm seam along the short (raw) edge, to make a tube.  Remember to backstitch at both ends.


3. Press the seam open.

4. Now fold the fabric tube in half, so that the wrong sides are facing each other (see the picture).


5. Press the fold.

6. Take a length of thread (about 80cm) and fold it in half.  Thread your needle.


7. Starting just to one side of the seam, stitch all around the raw edge.  The stitches should be about 1cm in length, and spaced about 1cm apart. 


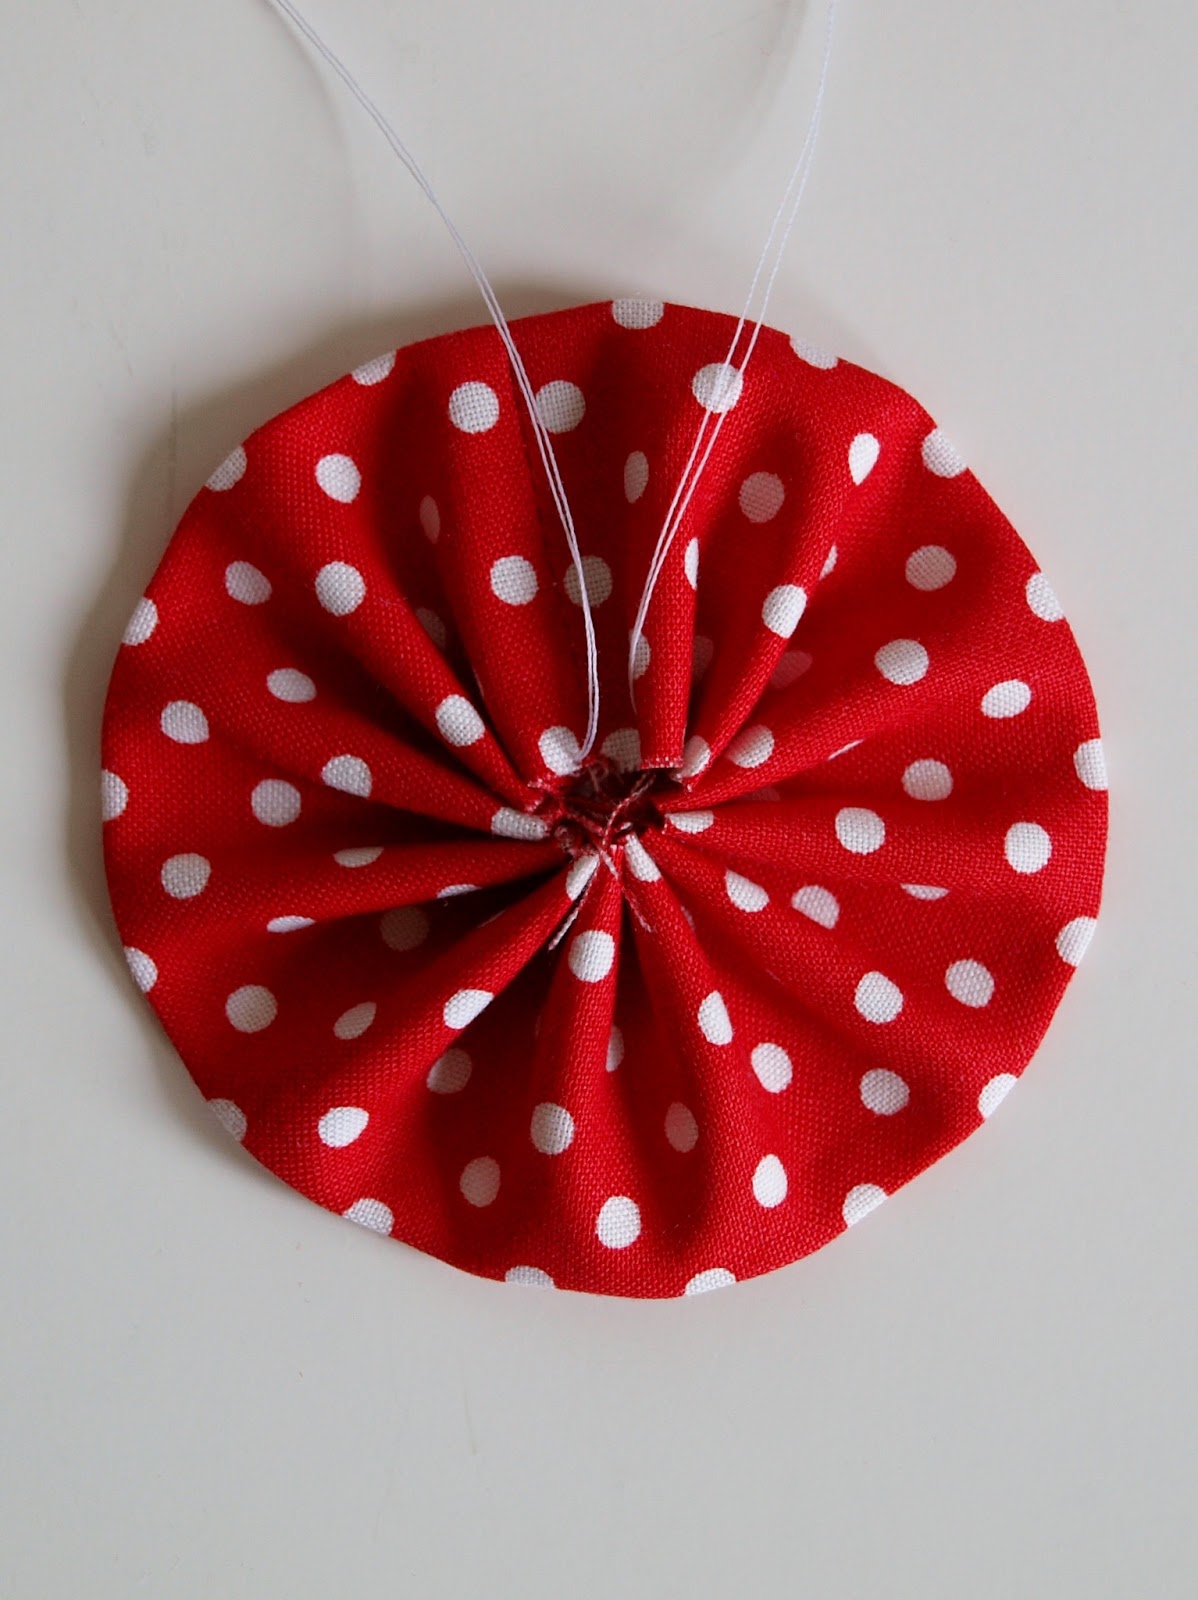
8. Pull the two ends of the thread, to tightly close the hole in the centre of the fabric and create the rosette.  Tie a few knots in the thread, but don’t cut it yet.

9. Now use one of the ends of doubled-up thread to sew on your button.  This is a bit fiddly (as you can see in the pictures).


10. When the button’s secure, neaten the underside of the rosette by sewing the pleats together.


11. Now sew on your brooch pin...... 


12. ..... and you’re done!  

Now make heaps more, so that you’re got one to suit every mood and liven up every outfit!


If you give this tutorial a try, I’d love to see the results.....

Carly


x

Related Posts Plugin for WordPress, Blogger...