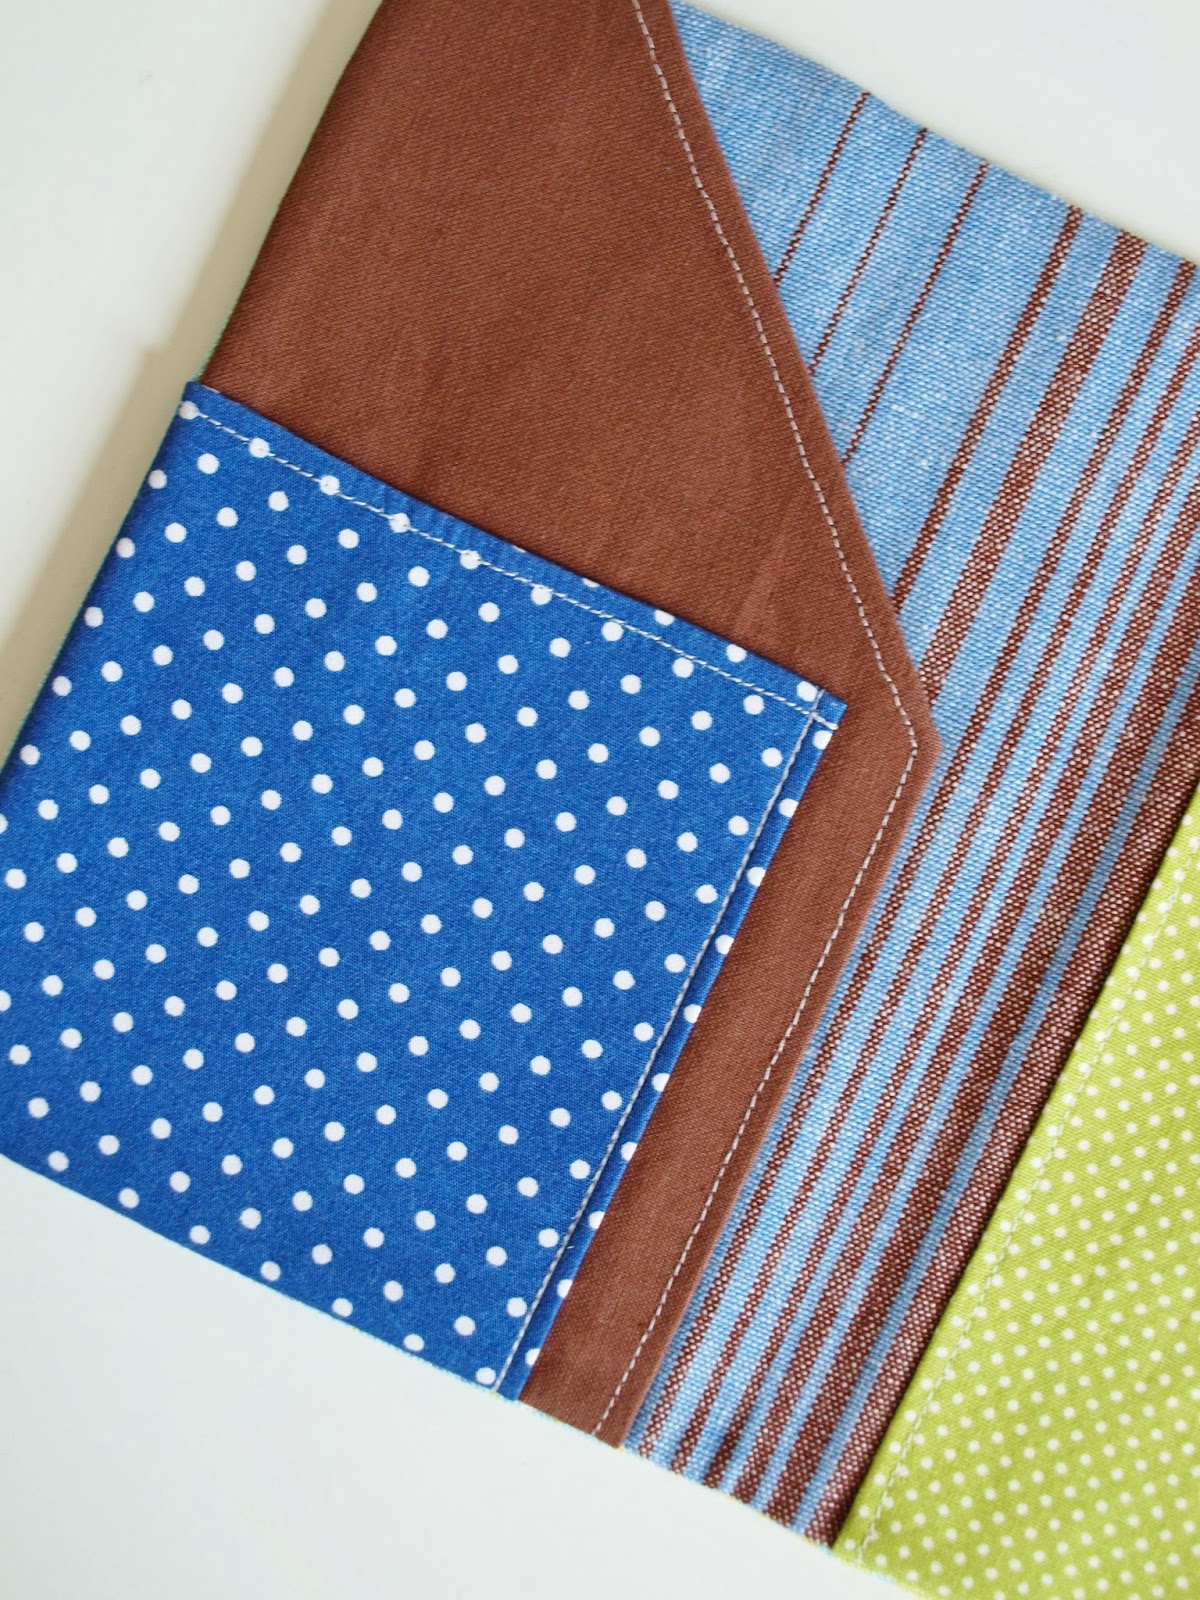
I'm making these little pretties all the time! They’re quick and easy – and brighten up any
outfit! They're also a great way of using up fabric scraps that are too cute to throw away. So, I thought I'd share a quick how-to with you.....
What you’ll need:
- A 7x24cm strip of fabric
- A big-ish button in a contrasting colour (I used
a button-covering kit to make this one)
- A brooch pin
- Some thread
- A needle
- Scissors
- A sewing machine (if you’re lazy like me)
What to do:
1. Take your
strip of fabric and fold it in half, so that the right sides are facing each other
(as in the picture).
2. Sew a 1cm seam along the short (raw) edge, to
make a tube. Remember to backstitch at
both ends.
3. Press the seam open.
4. Now fold the fabric tube in half, so that the
wrong sides are facing each other (see the picture).
5. Press the fold.
6. Take a length of thread (about 80cm) and fold it
in half. Thread your needle.
7. Starting just to one side of the seam, stitch
all around the raw edge. The stitches
should be about 1cm in length, and spaced about 1cm apart.
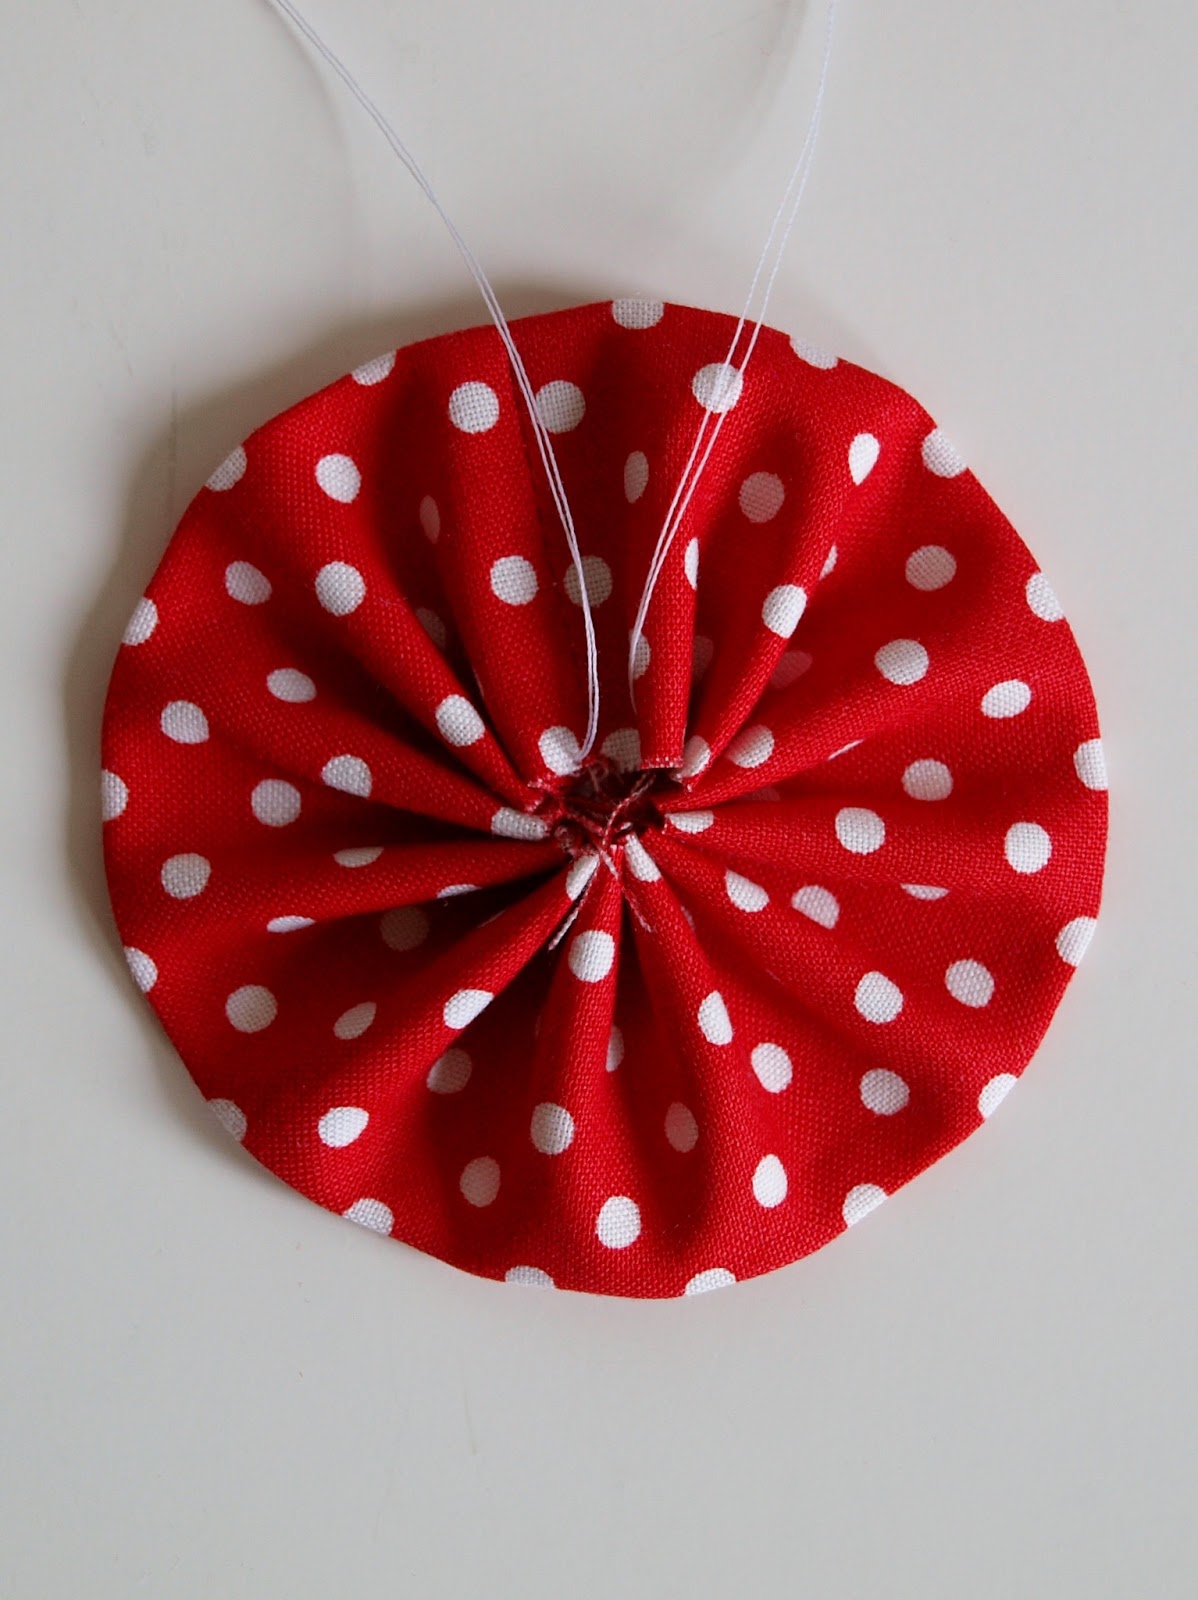
8. Pull the two ends of the thread, to tightly close
the hole in the centre of the fabric and create the rosette. Tie a few knots in the thread, but don’t cut
it yet.
9. Now use one of the ends of doubled-up thread to
sew on your button. This is a bit fiddly (as you can see in the pictures).
10. When the button’s secure, neaten the underside
of the rosette by sewing the pleats together.
11. Now sew on your brooch pin......
12. ..... and you’re done!
Now make heaps more, so that you’re got one
to suit every mood and liven up every outfit!
If you give this tutorial a try, I’d love to see the
results.....
Carly
x