Thursday 22 December 2011

Easy-Peasy Fabric Scraps Christmas Card Tutorial

So, here I am, blogging from the UK!!!  At the moment, we're in Devon, staying with the in-laws. 


I apologise for this post being a little late - we have been super-busy (cleaning, tidying, entertaining, driving back to the UK, Christmas shopping, visiting relatives, and eating, Eating, EATING)!!!  BUT I'm sure you all understand (because you've probably been racing around like headless turkeys too).  

As soon as I could pinch a few minutes to myself, I'd planned to show you some photos of the Christmas cards I made earlier this month.  But, now that I have a bit of time, I've decided to tell you HOW I made them too.  They were very easy, and didn't take too long.  And the method I used could be applied to all sorts of simple christmassy designs - and to images to suit cards for any occasion!

Here are my finished cards:


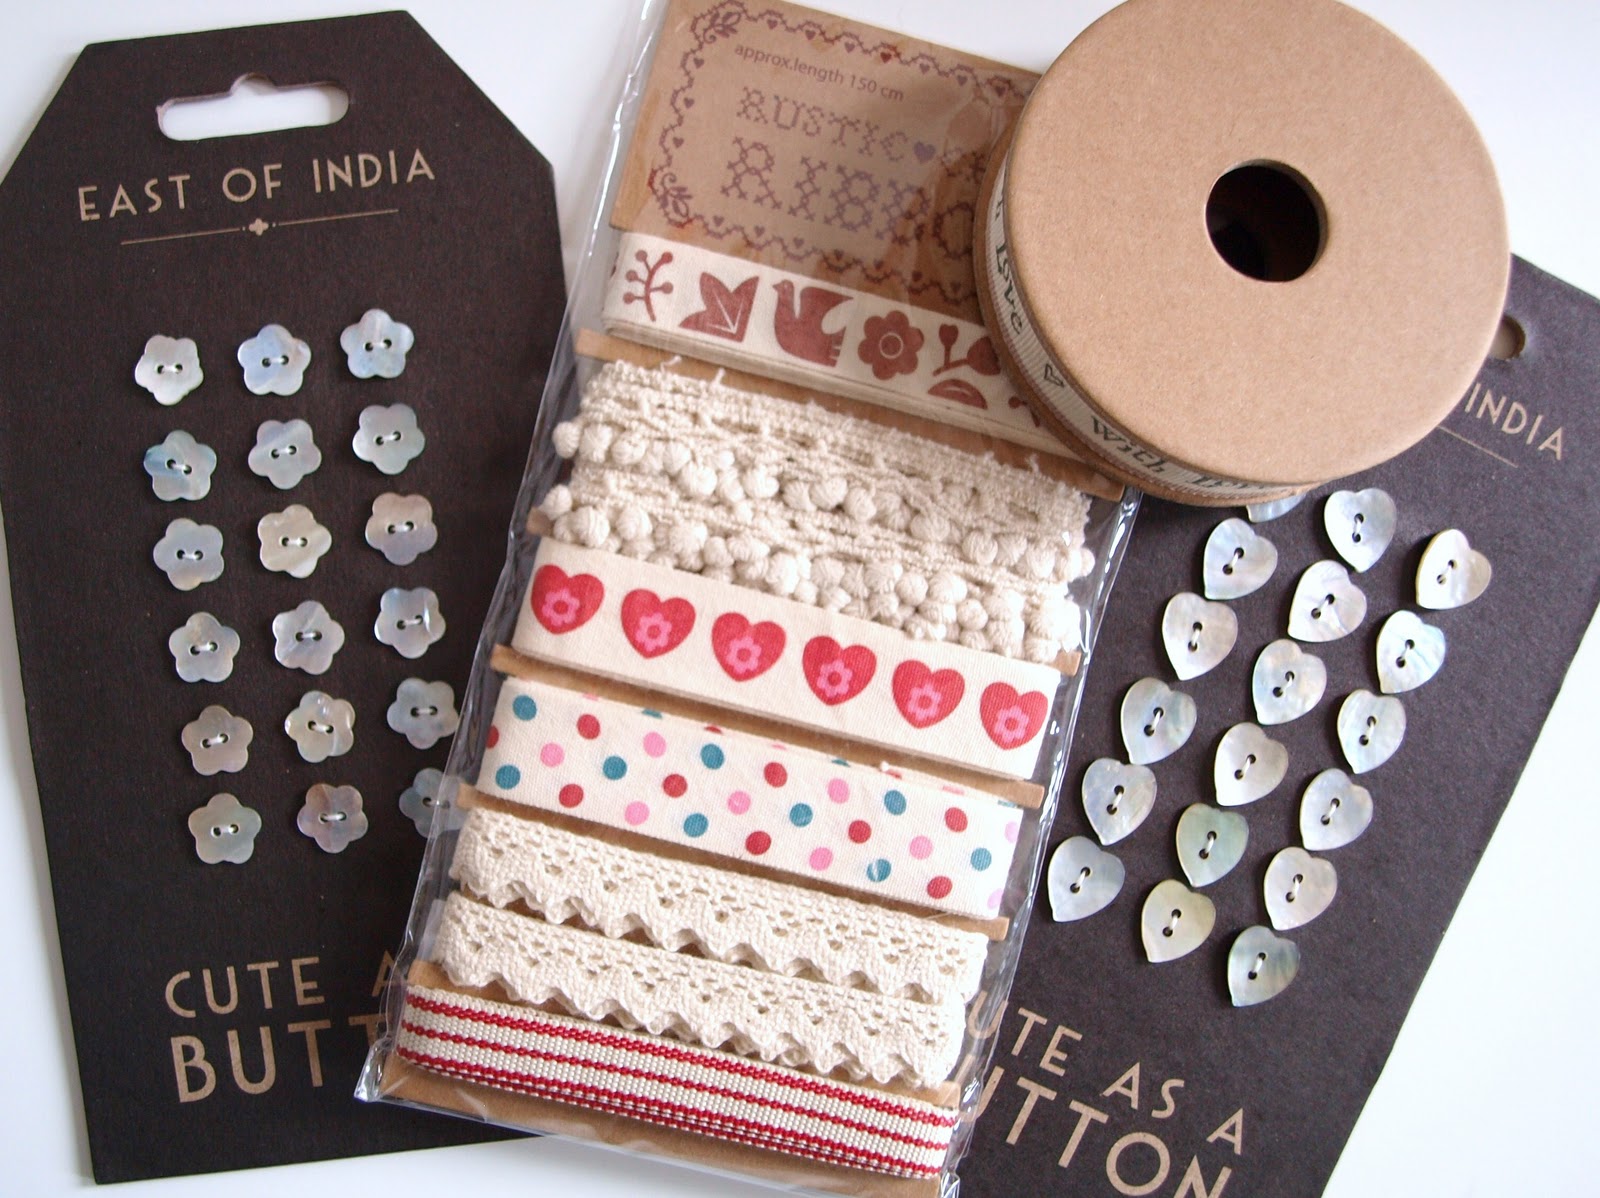
Here's what you'll need to make them:
  • Some reasonably thick card (or pre-made blank cards)
  • Lots of fabric scraps
  • Some bond-a-web
  • Pens
  • Scissors
  • An iron and ironing board
  • A pressing cloth
And here's how to make them:

1.  Take your card, cut it to the size you want, and fold it in half (or cheat - as I did - and buy pre-made blank cards).
2.  Pull out a load of fabric scraps to use for the project, bearing in mind how you want the finished image to look.  Also, be careful to choose fabrics that aren't see-though for any bits that will be layered on top of other colours (you can see that I forgot about this 'rule' with the fabric I chose for my elves' faces). 
3.  Draw around each of your fabric scraps, on to bond-a-web.  Then cut out the shapes, just inside the lines you drew (so that the bond-a-web bits are slightly smaller than your fabric scraps).
4.  Put your iron on to a medium-heat setting (without steam).
5.  Place one of your fabric scraps face-down on your ironing board.  Then place your bond-a-web piece on top (making sure that the sticky side is touching your fabric and the papery side is facing up.  Then iron over the top of the bond-a-web until it is stuck to the fabric.  Repeat with each of your fabric scraps and bond-a-web pieces.  
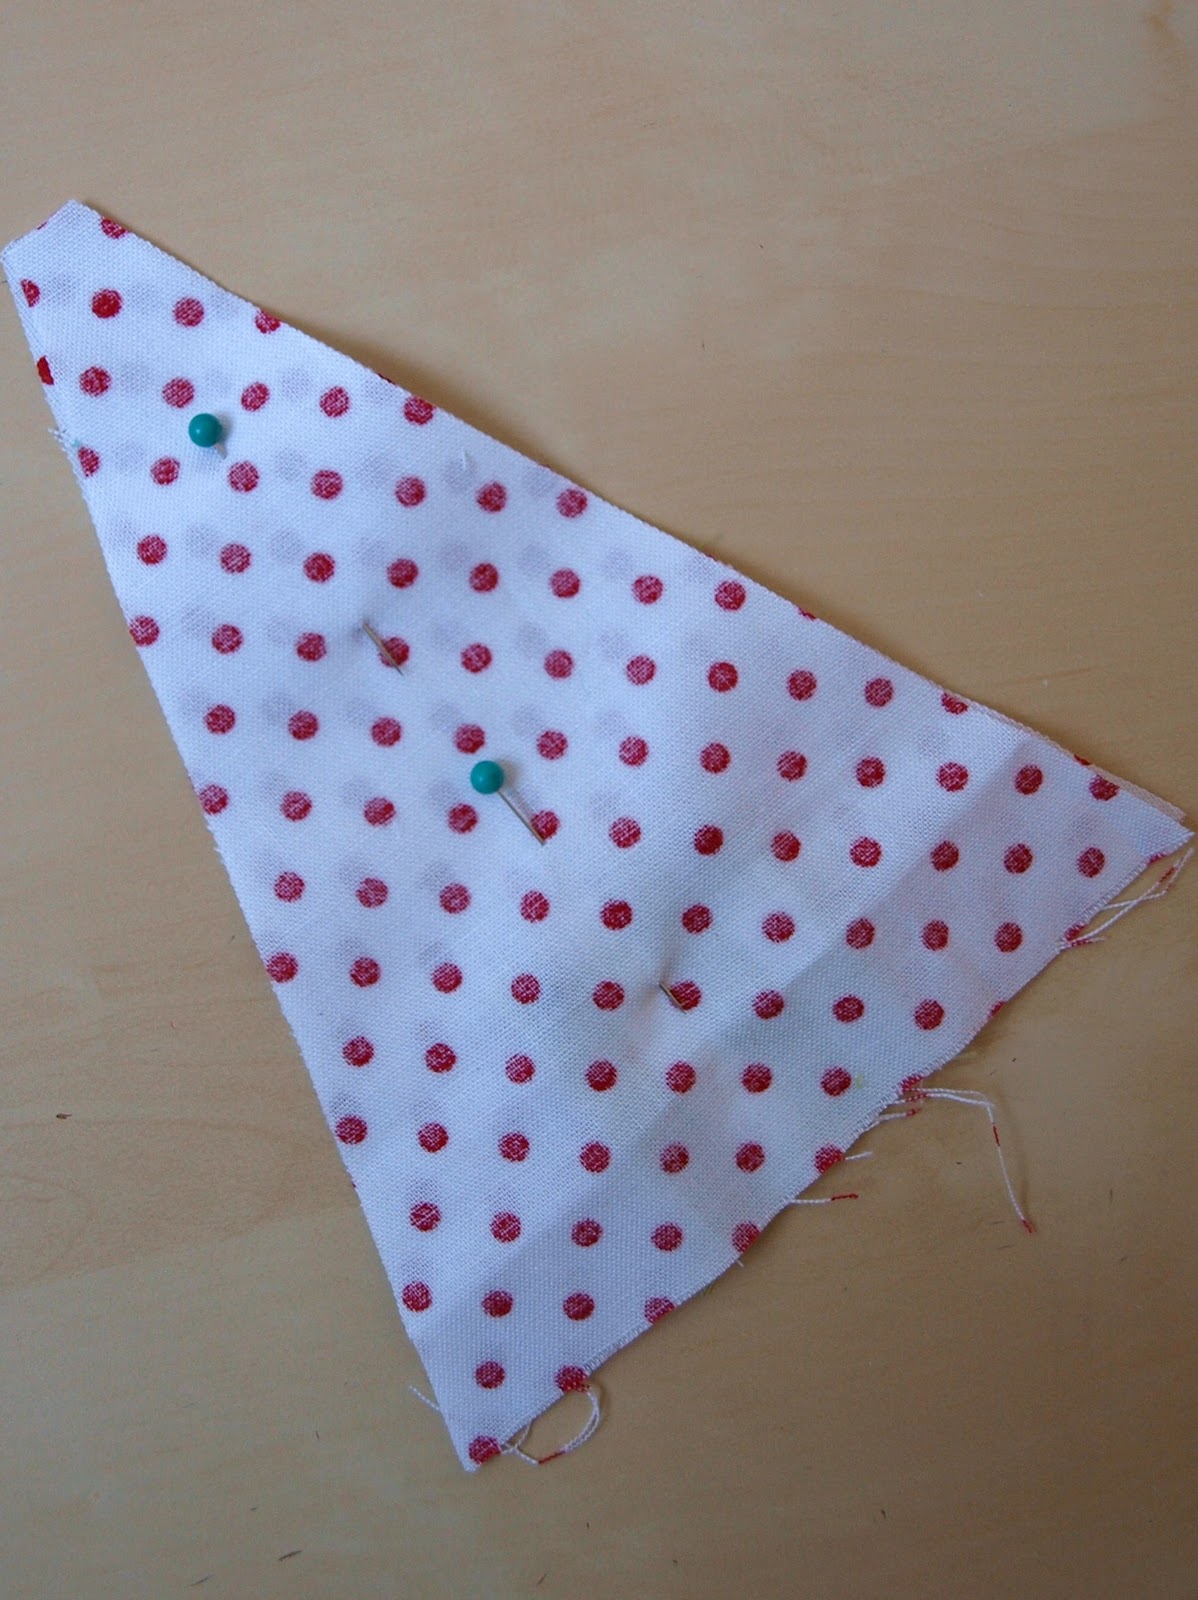
6.  Now you need to draw and cut out the separate pieces for your design.  Big, simple shapes are easiest!
7.  Lay your pieces on to your card and move them around until you're happy with the design.  Take note of how the pieces overlap each other, and remember to stick them down accordingly.
8.  Take your first piece.  Pull the papery backing off the bond-a-web and lay the piece in place on your card.  Then take a pressing cloth, lay it over the top of your card, and iron over the whole thing until the fabric is stuck in place.  
9.  Do the same with all of your pieces, building up your design.  
10.  When all your fabric bits are stuck in place, you can add 'extras' with a pen (I used 'fineliner' pens to draw on the snowman's arms, the elves' faces and hair, and the snowflakes and stars).  
11.  Tadaaaaa - your card is finished!!!  Write it, pop it in an envelope, and post it off to someone you love.  

Give it a try!  It's lots of fun, and the possibilities are endless!  I'm already thinking up ideas for next year - a pile of pressies, perhaps - or a little gingerbread house with an icing roof - or some holly - or a Christmas pud.....  Any other ideas???

Anyway, before we get carried away planning for NEXT Christmas.....  I have good intentions (at the moment) to blog again before the big day - I'd like to show you all the pressies I've made!  BUT, just in case I can't squeeze another one in, I thought I'd better take this opportunity to wish you all a VERY merry Christmas!!!  I hope Santa brings you what you've wished for, and that you have a magical day!!!

Carly

x    


Thursday 15 December 2011

Christmas is Coming!!!

I LOVE Christmas!!!  And I LOVE getting out all our decorations and ‘Christmasifying’ the house every year! 

I’d really like to be able to invite you all (my wonderful blogging pals) over for a glühwein and a mince pie, and show you around.  But, as that’s not possible, I thought I’d share a few of my bits and pieces of Christmas jolliness with you ‘virtually’ instead.....


Can you guess what my favourite colour is?

I hope all your Christmas preparations are going well, and that you’ve been watching plenty of Christmas movies!!!

Until next time.....

Carly

x    

Sunday 11 December 2011

My Top 20 Christmas Movies

Now that Christmas preparations are well underway, we’ve dug out our collection of Christmas movies, and have watched one per night (pretty much) over the past week.  Of course, there was a night off in the middle of the week for me to watch Kirsty’s gorgeous, wonderful, magical ‘Homemade Christmas’!!!  Look at my collection.....


A random mix of videos, ‘proper’ DVDs, and DVDs that came free with newspapers!  We have plenty more Christmas movies that we recorded from the telly onto blank videos too – many moons ago!!!  It’s a funny old collection, but I LOVE it!  Every December, I really look forward to finding them, dusting them off and re-watching them AGAIN for the umpteenth time.

And I thought I’d share with you my ‘Top 20’ list.  Choosing my favourite 20 was pretty easy.  But ordering them was quite tricky, as I love them all for different reasons.  Some are funny, some I remember watching when I was a little girl, some are extra-christmassy, some are really magical, some are beautiful, and some just make me smile.  If there are any on the list that you haven’t seen yet, I really recommend that you give them a try!  Also, if you know of any good ones that I haven’t included, please let me know!  One can NEVER have too many Christmas movies!!!

So, here’s the list:

1.  Home Alone (1990)
2.  Elf (2003)
3.  The Santa Clause (1994)
4.  Surviving Christmas (2004)
5.  Home Alone 2 (1992)
6.  A Christmas Carol (1999)
7.  The Snow Queen  (2005)
8.  Miracle on 34th Street (1994)
9.  Santa Claus the Movie (1985)
10.  The Snow Queen (2002)
11.  The Lion, the Witch and the Wardrobe (1988)
12.  National Lampoons Christmas Vacation (1989)
13.  Christmas with the Cranks (2004)
14.  Nativity! (2009)
15.  Fred Claus (2007)
16.  The Snowman (1982)
17.  The Greatest Store in the World (1999)
18.  How the Grinch Stole Christmas (2000)
19.  Olive the Other Reindeer (1999)
20.  Jack Frost (1998)

I hope your Christmas preparations are going well, dear reader!

I'll be back soon, with more Christmas cheer.....

Carly

x

Saturday 3 December 2011

Christmas Open House Party

I did it!!!  I survived the preparations for my Crafted by Carly Open House Party!!!  It went ahead on Thursday and, all in all, it was pretty successful.  I was a little bit disappointed that more people didn’t pop in to have a browse.  I decided to have it on a week-day-evening, as I thought people might be busier at weekends at this time of year.  Maybe I’ll try the weekend next time, and see if that makes a difference.  BUT, those who did stop by seemed to really enjoy the get-together.  The glühwein went down very well indeed (and the house still smells of it – mmmmmmm)!  I got lots of positive feedback from people about my things, and some suggestions about things I could add to my list of ‘things I make for selling purposes’, and I managed to sell quite a lot of my bits and bobs.  "THANK YOU!!!" to those of you who were here!!! 

Here are some photos of my makes for the event.....

There were lots of things for the grown-ups:

[Toiletry Bags]

[Carry-all Bags]

[Gadget Cases]

[Felt Flower Corsages]

[Purses]

And some things for the little ones:

[Little Girls' Bags]

[Kids' Aprons]

['Find-it' Games]

And, of course, some Christmassy thingies:

[Little Christmassy Houses]

[Stockings]

[I like how they looked all hanging up together!!!]

Here's how my dining room looked on the night of the party:


And what did I learn from my experience?
·         I was right to start setting up the day before (it took me AAAGES to get everything looking as I wanted it to look).
·         It was good to have someone there to help out with serving drinks and letting people in (S was my little helper on this occasion), so that I could be free to chat about my things and generally mingle with people.  S thought he should wear just his trousers and a bowtie for his job on the evening, but we decided against that idea.  Maybe next time???
·         I need to get better at talking about the things I make.  I like them (of course – or I wouldn’t make them), but find it really difficult to ‘sell’ them to other people.  Any tips there???
·         Perhaps the day/time I chose wasn’t ideal.  Next time, I’ll try a weekend.  Around this time of year, it’s hard to know when most people will be free (and have husbands/babysitters at home).  Tricky!!!
·         I think I should have sent out more invitations.  And I should have sent my advertising postcards out with them (as these show the kinds of things I make).  I’m going to have a think about other options for advertising future events too.  Again, does anyone have any good tips on that???

If you stopped by on Thursday, thank you SO much for being supportive.  I really appreciate the fact that you took the time to call in!!!  And thank you to all my super blogging pals for all your words of encouragement and advice.  I wish you could all have been here to share a glühwein too!!!

Until next time.....

Carly

x     

Sunday 27 November 2011

Perfect Pressies

On Tuesday, it was my birthday.  I had a lovely day (and EVEN gave myself the evening off from preparing for my Open House party, to go for a surprise Italian meal with the gorgeous S)!  I received lots of lovely cards and pressies from my wonderful family and friends and, as you might guess, there was a definite crafty theme!  They OBVIOUSLY know me VERY well!!!  

So, I thought I’d share with you some of my new goodies…..


Very exciting!!!

And TWO crochet books – now I have no excuse to put of learning!!!  ;-)


I’ll be back soon, with some photos of the stuff I’ve made for the Open House…..

Carly
x

Saturday 19 November 2011

Christmas Tree Decoration Tutorial

I’ve been ridiculously busy over the past few weeks, preparing for a Christmas ‘Open House’ party I’m going to be hosting on December 1st.  I’ve been making lots of all my ‘usual’ thingies – bags and pouches and corsages.  But, as it’s going to be a Christmassy do (with mulled wine and Christmassy nibbles, and carols, and my tree up VERY early indeed), I thought I should have a go at making some festive things to sell too.  Coming up with ideas for cute decorations has been lots of fun!  So far, I’ve made some little Christmassy houses and Christmas trees.  Tomorrow, I’m going to have a go at making some mini stockings and (possibly) some little birdies.

The Christmas trees were super-easy to make, and looked really cute when they were finished.  So, I thought I’d post a tutorial on how to make them.....


First, cut out 2 triangles of the fabric you want to use for the tree.  These could be as big or as small as you like (so I haven’t included a template).  Cut out one rectangle of the fabric you want to use for the tree trunk.  This should be twice as long as you want the trunk to be, as you are going to fold it in half before attaching it to the base of the tree.


Now fold the rectangular piece in half (right sides facing), and sew up the sides.


Turn the trunk piece right-sides-out.


Place the trunk piece on the right side of one of the triangular pieces, with the open end level with the base of the triangle.  Make sure it’s right in the middle.  Then pin it in place.
 

Now place the second triangular piece on top of the first (right sides facing).  Line up all the edges and pin in place.


Sew the pieces together, with a 1cm seam allowance.  Leave a small gap for turning your tree right-sides-out.


Now you can turn your tree right-sides out.  I used a chopstick to gently push out all the corners. 

   
Fill the tree with stuffing.  Again, I used my trusty chopstick – this time to poke the stuffing all the way into the corners of the tree.


When your tree is as firm as you’d like it to be, topstitch the little turning gap.  Then use a needle to attach some string or embroidery thread to the top of the tree, so that you can hang it up.  Now your tree’s finished - it’s as simple as that!

You could add some cute appliqué or buttons to your tree before sewing the pieces together, if you wanted it to have more detail.  Or you could make lots of them (as I did) in different Christmassy shades.  I think they’d look cute handing together somewhere!  These ones are to sell at my ‘Open House’ party, but I’m going to have to make some more – just for me!!!


I’m finding it hard to take decent photos at the moment (because it’s still dark when we leave for work in the mornings, and dark again by the time we get home).  But, when I get the chance, I’ll post some shots of other things I’ve been working on for the ‘Open House’.

Hope you’re all enjoying your Christmas crafting!

Carly

x

Friday 11 November 2011

Baby Boy's Quilt

Well, first of all I wanted to share some exciting news with you.....  I’ve had my 1000th visit!  I know that’s a tiddly small amount really.  But, for me, it’s loads!!!  So, I just wanted to say thank you to everyone for stopping by to see me from time to time.  I love having visitors!  And receiving comments from you REALLY makes my day!

I’ve been waiting to share this with you for AGES.....  it’s my first ever quilt!  I made it for my lovely friend Jana, who’s going to be having a little baby boy very soon.  She worked at school with me before going on maternity leave.  Some months ago, other work friends suggested that I should make something that we could all give to Jana at a baby shower.  So, I did!!! 

I decided to make a cot quilt from some super-cute robot and cog fabric I bought from the amazing Fabric Rehab (who ship overseas for a very reasonable fee).  I made the quilt really thick, so that it could also/alternatively be used as a play mat.  Here it is:


I LOVED the process of choosing fabrics, cutting out the squares, arranging them (and rearranging them and rearranging them again) in a way that I thought looked nice, and sewing the squares together!  Sewing the squares together was really relaxing and lots of fun!!! 


THEN came the layering bit and the fixing-it-all-together bit.  I did my own thing when it came to the actual ‘quilting’ and ‘binding’ bits.  I stacked my three layers, sewed them together all the way round (apart from a small gap at the bottom).  Then I turned everything the right way out and sewed up the little gap.  To do the ‘quilting’ (and stop the batting from bunching up inside the quilt), I sewed through each corner where 4 squares met with several strands of red cotton, tying knots at the back and leaving the strands dangling.  I liked how this gave added interest to the otherwise plain underside of the quilt.  I know I cheated a bit here, though.  And I WILL have a go at ‘proper’ quilting sometime soon! 


I’d love to hear your (honest) comments on my quilt.  AND I’d love to hear from you if you can offer me any tips for future quilting projects.  I recently bought two charm packs from Fabric Rehab – ‘Just Wing It’ and ‘Sherbet Pips’, and I’m just wondering what to make with them.....  Another quilt, maybe?  Or some cushions?  I’d hugely appreciate suggestions on what I could make with my charm packs, or links to cool (but simple) quilting projects.....

I’m off to have a little drink, to celebrate my 1000th visitor!  Prost!!!

Carly

Related Posts Plugin for WordPress, Blogger...