Sunday 29 September 2013

Knitted Scarf-Thing

Once upon a time, before Christmas, I knitted a scarf-type-thing for my sister.  I intended to give it to her as one of her Christmas pressies, and put it 'safely' away.  Of course, I forgot where I'd put it!

So, I saved it up for all these months, and gave it to her for her birthday last week instead!  

Here it is.....


I didn't follow a pattern.  I just started knitting a scarf, then had the idea to add some duffle buttons and turn it into a collar-thingamybob.

I quite liked it.  And I think I might knit one for myself too, if I can remember what I did.

Am I attempting anything more difficult than rectangles of fabric in my knitting yet?  Errr..... no!!!  I must get on to that, as it was one of my crafty resolutions for 2013.....

Carly

x


Wednesday 25 September 2013

My First 'Proper' Quilt

I've made a few baby quilts before.  But I 'cheated' a bit when it came to the actual quilting bit.  I stacked my layers (inside-out) and sewed them together, leaving a little gap, then turned the whole thing the right way out and closed the gap.  Then I quilted it by tying knots at all the points where the patches met.  

When I found out that our best friends were expecting a baby, I decided to have a go at making a 'proper' quilt for their little one.

I finished it quite a while ago, but couldn't share it on here until the baby arrived and our friends opened their gift (just in case they got a sneaky peek).  Well, the baby's here at last - a beautiful baby girl (CONGRATULATIONS VICKI AND JON).  So now I can do my show-and tell.....


I'd asked my friend if she had a colour-scheme in mind, and she sent me a link to the Mamas and Papas website, and their 'Timbuktakes' range (which they'd already bought some bits and bobs from).  Have a look.....


Isn't it cute!?!  So, I tried to pick out colours that would match.  

Of course, as always, my bestest bit was choosing the colours and picking out the fabrics.  I also really enjoyed the process of cutting the fabric and piecing the quilt top together.  I find sewing patchwork squares together really relaxing!  

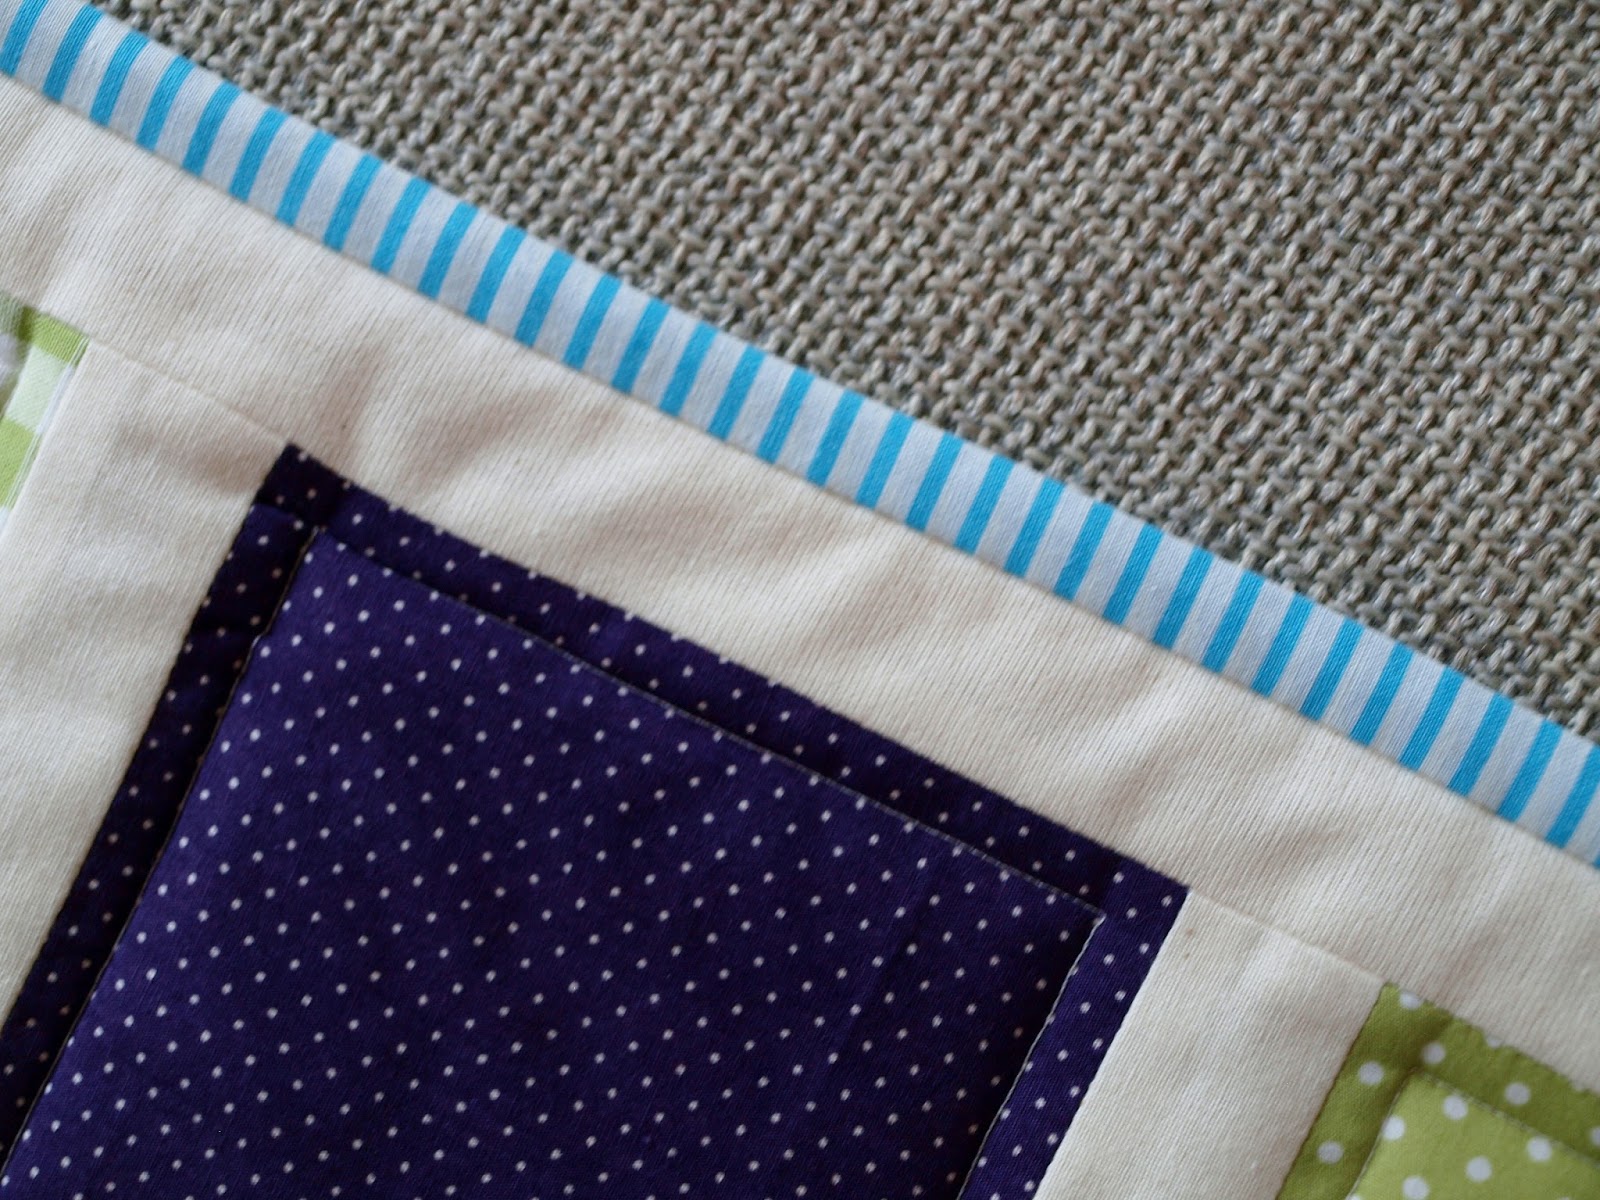
The pinning together of layers, errrr.....  not quite so much fun.  And I found the actual quilting of the layers quite tricky.  I really struggled to stop the backing fabric from puckering - and my little seam ripper came in handy a fair few times (any tips on this would be gratefully received)!  

The bit I was most nervous about, though, was hand-sewing on the binding.  But it was fine!  I actually liked that bit!  It was much easier than I thought it would be - and it didn't take as long as I'd anticipated either.

So, to sum up, I have to say, I was pretty pleased with my first ever 'proper' quilt.  And, most importantly, my friend loves it!  I REALLY enjoyed making it, and will definitely me making more 'proper' quilts in the future.....

Carly


Saturday 21 September 2013

A Wonderful Win

I have something EXCITING to show you!  I won this.....


This CUTE little set was a giveaway prize from the LOVELY Kate (of the BRILLIANT Signed with an Owl blog).  

Kate held the giveaway to celebrate her 2nd blogiversary.  To enter, she asked everyone to suggest a name for her little owl mascot.  And she picked the name I put forward. YIPPEEEEE!!!

Thank you SO much, Kate!  

See you soon.....

Carly

x


Tuesday 17 September 2013

Our Fairytale Forest Bedroom

A few months ago, we decided to redecorate our bedroom.  We saw this amazing wallpaper, and HAD to have it.  And it was the wallpaper that inspired the rest.

Simon did all the decorating, and I contributed by sewing some patchwork cushion covers and making some papercuts for the walls (and by doing a bit of shopping, of course).....


I LOVE:
  • papercutting
  • making parchwork cushions
  • shopping in IKEA
  • red paired with bright blue
  • Russian dolls
  • little wooden ladybirds
  • magical, glowing bunny rabbits

But I DON'T love:
  • visiting DIY stores
  • getting covered in paint
  • hanging pictures
  • hemming curtains

Luckily, we BOTH LOVE our new bedroom!!!

Carly

x


Thursday 12 September 2013

Passport and Travel Document Wallet

Just before the summer holidays are well and truly packed away as distant memories, I wanted to show you the passport and travel document wallet I made to take to Italy.  

I get a bit stressed about packing to go away.  I'm hopeless at it!!!  I pride myself on being organised in every other aspect of life but, for some reason, just can't get it together when it comes to packing.  I always take WAY too much - half of which I KNOW I won't wear once!     

AND, in the midst of all of my fussing, I ALWAYS decide to start on a sewing project a few days before we leave.  WHY???  I don't know.  Once I just HAD to have a new beach bag to take with me.  Another time, I needed some of my little rosette pins (link to tutorial here) to match with each outfit I was taking with me.  Then there was the time I was desperate for a new toiletry bag.....  It's become a holiday tradition, in fact!   

This time, I made up my mind that the whole holiday would be a total disaster if I didn't make us a new travel document wallet.  I found the tutorial I wanted to use here.  It was pretty easy to follow, but there were lots of pieces to cut out and sew together.  So it took a while.  I was really happy with it when I was done, though.  


And, in the end, of course, I managed to finish all my packing AND my last-minute sewing project!!!  

It did a great job of looking after our passports and very important documents for us.  Who knows what would have happened to them if I hadn't SQUEEZED in this ONE last little make before we left?!?

Carly

x


Saturday 7 September 2013

Adventures in Tuscany Part 2

Here I am, with 'Part 2' of the series.  If you missed 'Part 1', you can catch up here.

Off we go.....

Arezzo


San Gimignano


Volterra


Countryside Drives


Florence


Fiesole


Arrivederci Italia.....

..... and arrivederci dear blogging friends.  See you again soon!

Carly

x


Related Posts Plugin for WordPress, Blogger...