Tuesday 30 July 2013

A Little Outfit for a Little Friend

When my friend had a little baby girl at Christmas, I was not only excited about the fact that she’d had a baby, but also about the crafting opportunities afforded to me by having a little girl to ‘experiment’ on. 

As I’ve been eager to make more clothes lately, I decided to have a go at making a little outfit for Mathilda.  I hadn’t made any teeny-tiny clothes before, but I hoped that it couldn’t go too badly wrong. As Mathilda just happens to be the cutest little girl ever, she’d look sweet in it even if it turned out to be an epic failure! 

I had an idea in my mind of the KIND of thing I wanted to make – an outfit with a cross-over-type dress and some little bloomers.  As I couldn’t find anything exactly right in any of my books or online, I combined bits and bobs from here and there, and got to work finding fabrics, cutting out and sewing-up.

And here’s what I ended up with.....


I REALLY enjoyed this project!  It didn’t take me too long, but it gave me a few challenges, like having to put the patterns together from bits I’d gathered 
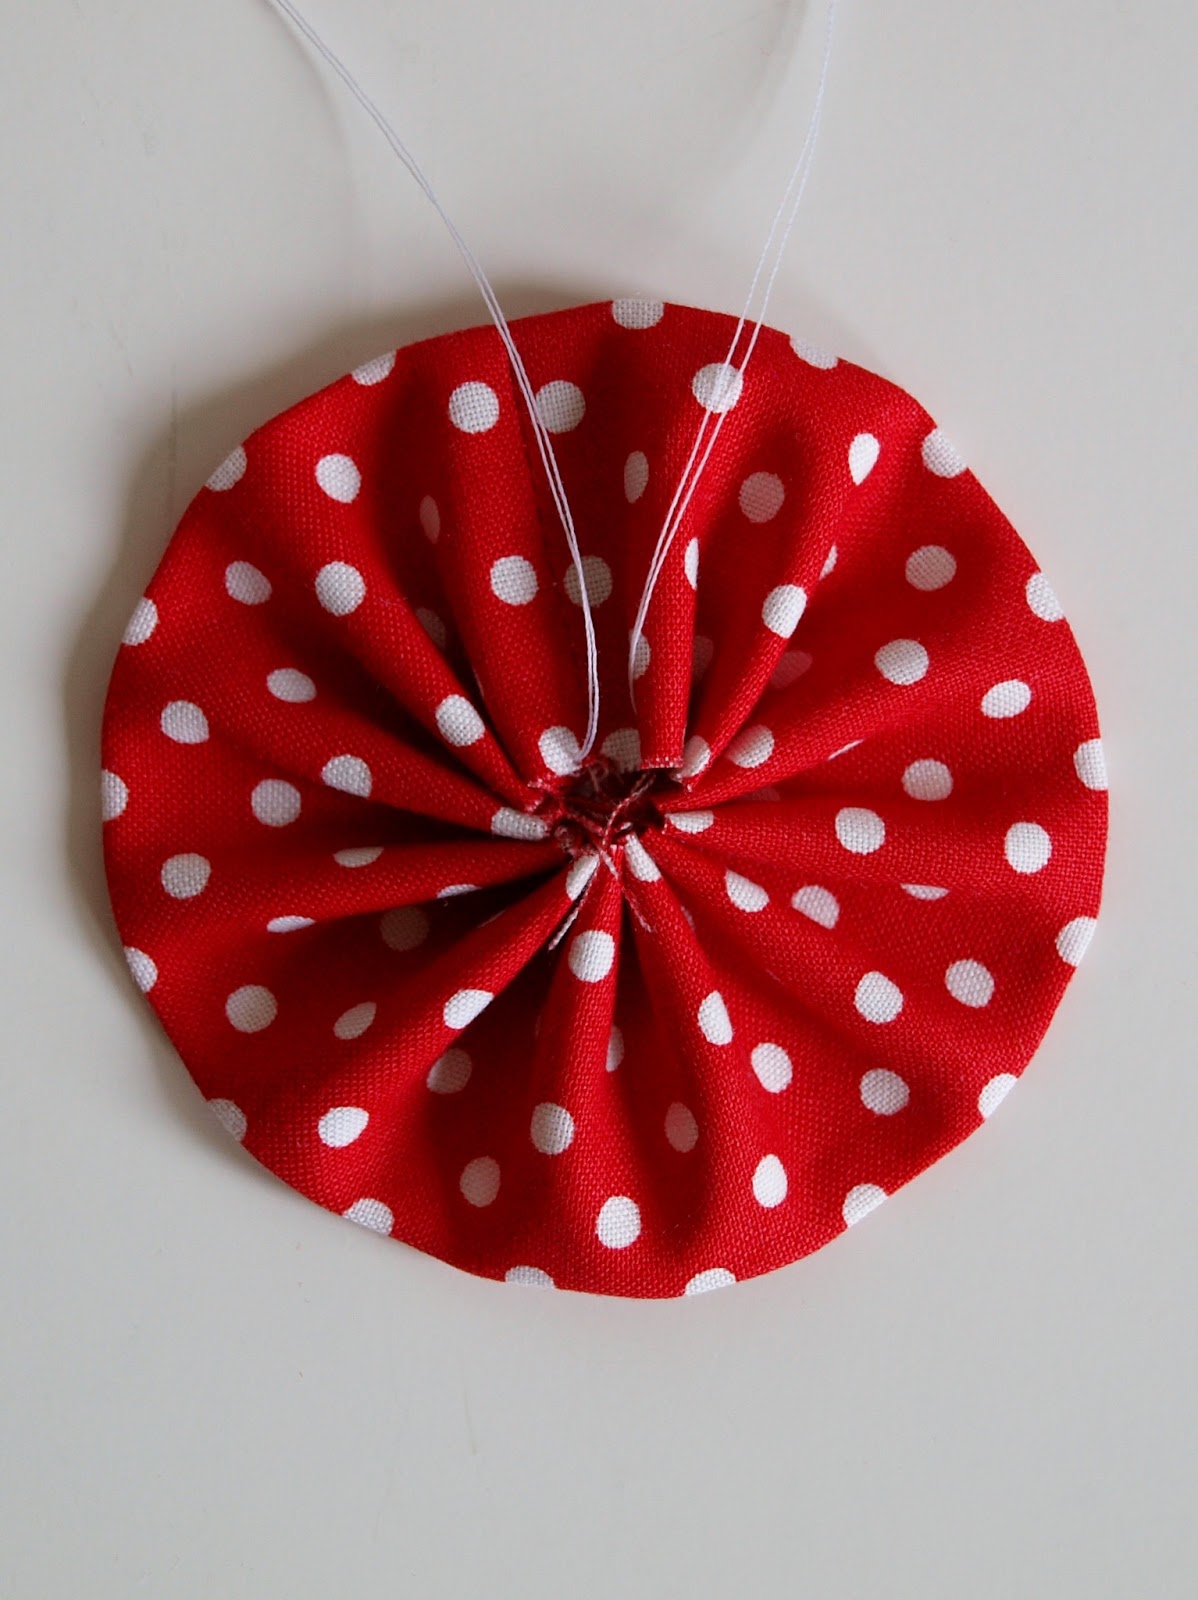
from elsewhere, and also using shirring elastic in the bobbin case and creating button holes (neither of which I’d attempted before).

So, I think little Mathilda may be getting a few more handmade-by-me outfits in the future.

Until next time.....  

Carly


x

Tuesday 23 July 2013

Engagement Card

When I was at school, I had a friend called Kate.  She was my best mate all through secondary school, and we got up to plenty of mischief (and giggles) together.  A few years after we moved to Germany, Kate moved to Australia.  And we hadn’t seen each other since then.  BUT (along with her Aussie boyfriend), she paid a visit to her parents in the UK a few weeks ago, and decided to combine this with a little tour of Europe – including Düsseldorf.  Yippeeeee!!!

We had SUCH a fun weekend together!  It felt like we were 16 again – and, as it happens, we’re both still just as silly high spirited as we were back then.  Unfortunately, we were so excited about our get-together that we completely forgot to take any photos of our adventures (otherwise I would have shared some with you).

Just before they came to stay with us, Kate’s boyfriend proposed to her (all romantic and proper – in Paris).  A great opportunity for a bit more card-making!  This time, I got the buttons out.  And here’s what I did with them.....


I was really pleased with how it turned out, and I think I see more card-making in my crafty crystal ball!

If you’re after ideas for handmade cards, by the way, Pinterest has heaps!!!  Is it just me, or does anyone else believe that Pinterest was invented solely to sneakily steal away hours upon hours of our time without us realising it?!?  Once I get started on there, Simon has to prise the laptop out of my hands by force when my eyes start to turn square!

Off to Pinterest now, then.....

Carly

x  

Tuesday 16 July 2013

A Perfect Parcel in the Post and a Bit of a Blogging Break

The Postie delivered a promising little parcel the other day.  Inside, I found this cute-as-a-button package.....


It was from my fabulous friend, Lisa.  She's both a blogging buddy (you can check out her little homes on the web here and here), and a real-life pal too.  As a fellow crafter, she knows how to make me smile - by sending me these.....


Measuring-tape washi and ribbon!  

Thank you, lovely Lisa!!!  :-)

As the school holidays have just started, I'm going to be taking a bit of a break from Blogland for a while.  I have some posts that I've already written, which I'll schedule to pop up over the next few weeks.  But I may not be popping over to visit you, or stopping by for email-chats as often as usual.  Please don't think I've forgotten you - I'll be back and participating in blogging adventures with you all again soon.....

Happy, sunshiney summer to you all!!!

Carly

x

Tuesday 9 July 2013

Crocheted Choker

If you’ve been following my blog for a while, you probably already know this.  But I LOVE costume jewellery and accessories!!!  If I’m not wearing a brightly-coloured brooch, a string of beads or a set of bracelets when I go out, I feel like I’m not properly dressed.  So, I’m always on the look-out for interesting accessories that I could make, to add to my collection. 
   
And here’s my latest effort – a crocheted choker.....


I found the pattern on Ravelry, here.  It wasn’t too tricky, and didn’t take me too long.  I love the colours, and think it’s really cute and unusual.  The only problem is, it’s a bit TOO choker-ish around my neck.  If I make another (which I’m sure I will), I’ll have to make it a little longer.  And I’m hoping I’ll be able to stretch this one a bit.  I don’t think the choker’s going to enhance my outfit at all if my face is turning blue when I’m wearing it!  ;-)

If you know of any cute (but reasonably quick and simple) accessory or jewellery tutorials out there in blogland, please do share.....

Have a great week!

Carly


x

Tuesday 2 July 2013

Rosette Pin Tutorial

I'm making these little pretties all the time!  They’re quick and easy – and brighten up any outfit!  They're also a great way of using up fabric scraps that are too cute to throw away.  So, I thought I'd share a quick how-to with you.....

   
What you’ll need:

- A 7x24cm strip of fabric
- A big-ish button in a contrasting colour (I used a button-covering kit to make this one)
- A brooch pin
- Some thread
- A needle
- Scissors
- A sewing machine (if you’re lazy like me)

    
What to do:

1. Take your strip of fabric and fold it in half, so that the right sides are facing each other (as in the picture).


2. Sew a 1cm seam along the short (raw) edge, to make a tube.  Remember to backstitch at both ends.


3. Press the seam open.

4. Now fold the fabric tube in half, so that the wrong sides are facing each other (see the picture).


5. Press the fold.

6. Take a length of thread (about 80cm) and fold it in half.  Thread your needle.


7. Starting just to one side of the seam, stitch all around the raw edge.  The stitches should be about 1cm in length, and spaced about 1cm apart. 


8. Pull the two ends of the thread, to tightly close the hole in the centre of the fabric and create the rosette.  Tie a few knots in the thread, but don’t cut it yet.

9. Now use one of the ends of doubled-up thread to sew on your button.  This is a bit fiddly (as you can see in the pictures).


10. When the button’s secure, neaten the underside of the rosette by sewing the pleats together.


11. Now sew on your brooch pin...... 


12. ..... and you’re done!  

Now make heaps more, so that you’re got one to suit every mood and liven up every outfit!


If you give this tutorial a try, I’d love to see the results.....

Carly


x

Related Posts Plugin for WordPress, Blogger...